Welcome to Istaria! This guide is meant to get you up and running after installing the game.
Account Setup[]
At any point, you can create your account for Istaria! Players are allowed as many accounts as they want, though most prefer stacking subscriptions on a single account for more character slots and concurrent logins. Please note that if you choose a free account, you must "renew" the free subscription every month through the accounts site to be able to log into the game. The account types are listed below:
Free Account[]
- One character per account
- All schools cap at level 15
- If you pay for a sub, level to 15+, and then switch to free, you keep your levels but you aren't able to complete quests or gain further experience.
- No property or guild ownership
- 10 slots on the consigner (player marketplace)
- 1 concurrent login
(Note that you can get multiple of the following, and their benefits stack! For example, if you have two property holder subscriptions, you can own two plots and log into the same account twice.)
Basic Access[]
($10/mo)
- 5 characters per subscription
- All schools cap at level 100 (the current max level)
- No property ownership
- 50 slots on the consigner
- 1 concurrent login
Property Holder Access[]
($15/mo)
- 7 characters per subscription
- All schools cap at level 100 (the current max level)
- 1 property (lair or plot)
- 150 slots on the consigner
- 1 concurrent login
Free accounts are not able to use the additional account upgrades listed here: http://community.istaria.com/pg.php/subscriptions
Once your account has been created, you're ready to move onto the game's launcher!
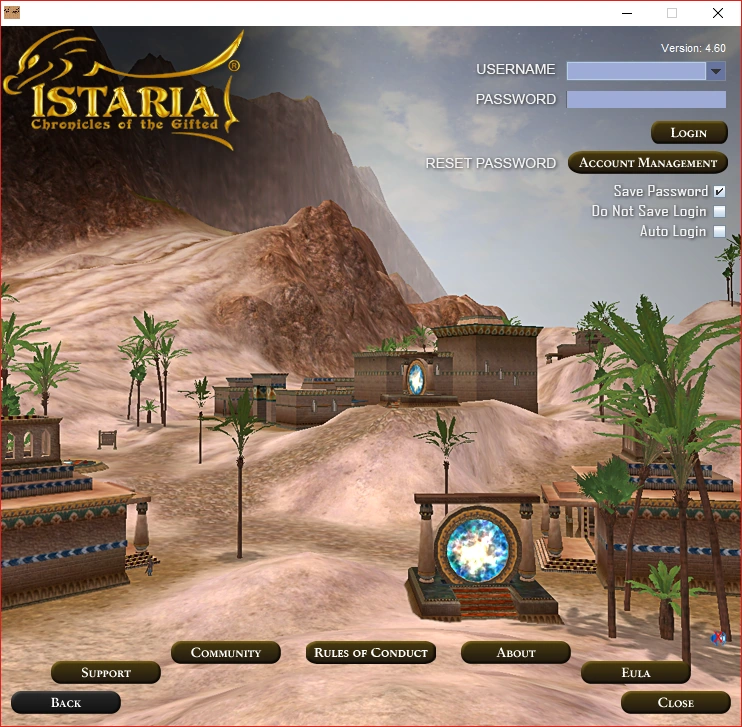
The Launcher[]

After installing, the first bit of Istaria you'll encounter is the launcher! This is how you log into the game, manage your characters, and modify some game settings. It's important to note that if the launcher's music bothers you, there's a mute button in the lower right corner, which can be a bit hard to see depending on the launcher image.

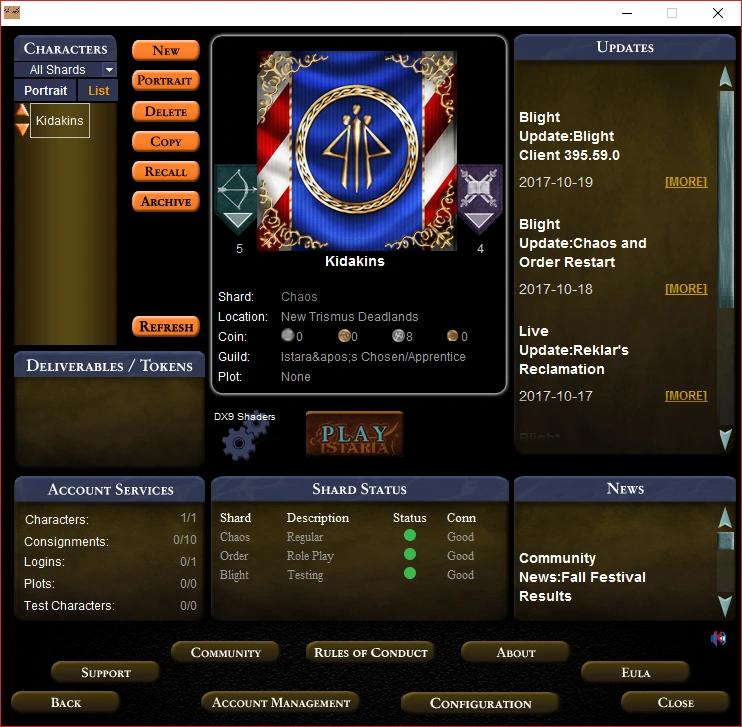
Once you've logged in, you'll see a list of characters associated with the account you've just logged into on the left. If you have an open Character slot, seen under Account Services, then you can make a new character. Other options along the character list include changing their Portrait image, deleting them, copying them (either to Blight if you have a test character slot, or to another live shard if you have purchased a copy token), or remotely recall them, just in case they're stuck someplace that may be difficult to get them out of without penalty due to a crash. You can also Archive any characters you're not currently using to free up a character slot, and then send a request to support to have them unarchived later if you change your mind.
Along the bottom are launcher-specific actions, most of which are visible before logging in as well. These are fairly self-explanatory; though after logging in, you'll find that Account Management and Configuration buttons are added. Account Management will open the account site in your browser, while Configuration will allow you to change some settings about the game before running it.
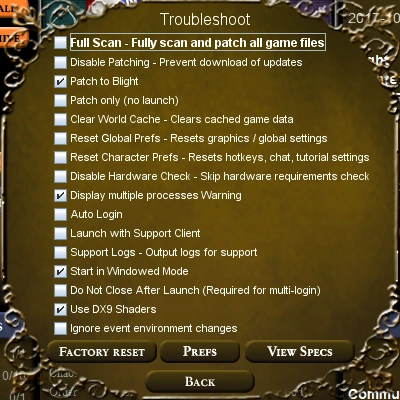
Configuration[]
The Configuration window contains some more advanced functions, but these are mostly explained within the window itself. Patch to Blight allows you to get the client-side updates from the test server, and use them on the live servers.
Shards[]
The Shards, or servers, of Istaria are the following: Chaos, Order, and Blight. Chaos is a normal-play server, Order is mainly roleplay-focused, and Blight is the test server, where content and updates are deployed ahead of time to ensure there are minimal issues before going live.
Character Creation[]

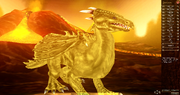
If you've never played Istaria before, then your first experience will be creating a character! When creating a character, you are able to choose between any of the Living Races. Each has their own starting stats and racial bonuses, though you'll find that most players categorize the two choices as Dragon and Biped, due to the difference in Schools available to each of them.
Once you've selected the race of your choice, you can then play around with the customization sliders until you create a character you like. Then comes naming, where only the first name is required to be filled in and unique (meaning no other players have the name). Once you've finished with that, pressing Play will create your character!
Interface and Options[]
Since you've now created a character and joined the world of Istaria, it's time to make sure the game is set up to your preferences! The next section of this guide covers keybindings, so the default keys will be referred to, and the initial Key Bindings tab in the Options window will be skipped.
Interface[]
The default interface is very barebones, but easy to navigate. As you play the game and gain more experience using the interface, customizing it will become very easy; almost second-nature!
Options[]
Within the options menu, there are five tabs; Key Bindings, Video, Audio, Camera, and Options. These tabs are mostly self-explanatory, while the last Options tab is general options for the game itself. (Note that the following screenshots include personalized settings, not the default!)
")
")
")
")
")
Controls and Keybindings[]
Getting Started/Controls and Keybindings
The Tutorial[]
- For bipeds, visit the biped tutorial page.
- For dragons, visit the dragon tutorial page.